Starting version 3.0, eForm supports out-of-the-box integration with MyMail Newsletter plugin. To get started, please follow the procedure.
#1: Install Mailster – Email Newsletter Plugin
MailSter (previously MyMail) is a great plugin for sending out and managing newsletter from inside your WordPress dashboard. You can purchase it from here and install like any WordPress plugin.
#2: Setup eForm Form Integration:
Like any integration, Mailster integration works on per form basis.
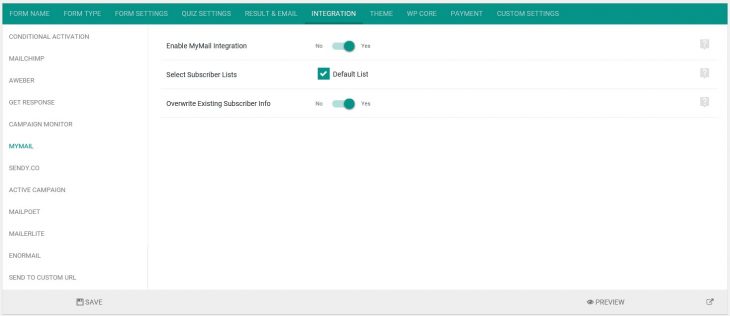
- Edit/Create the form you want to integrate with Mailster.
- Go to Integration > Mailster.
- Enable the integration.
- Check the list you want the subscriber to get assigned to.
- Optionally overwrite existing subscriber info (like first name, last name).
- Save the form and you are done.
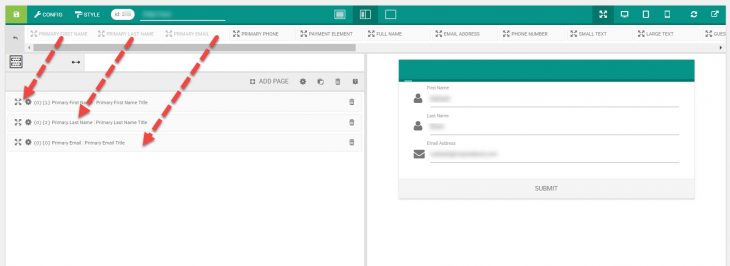
Also make sure you have the Other Form Elements > Primary Email somewhere in your form.
#3: Sending additional data with custom fields
It is possible to send additional data for subscribers with custom fields.
First go to WP Admin > Newsletter > Settings > Subscribers and add your custom fields.

In the image above we have created three custom fields.
- company.
- city.
- foo.
Note down the tags, which we will need for the integration.
Now back at eForm, go to CONFIG > INTEGRATION > MAILSTER and first enable Send additional data as custom fields.

Finally map eForm fields to any of the custom field tags we’ve created in the previous step.
#4: Testing out:
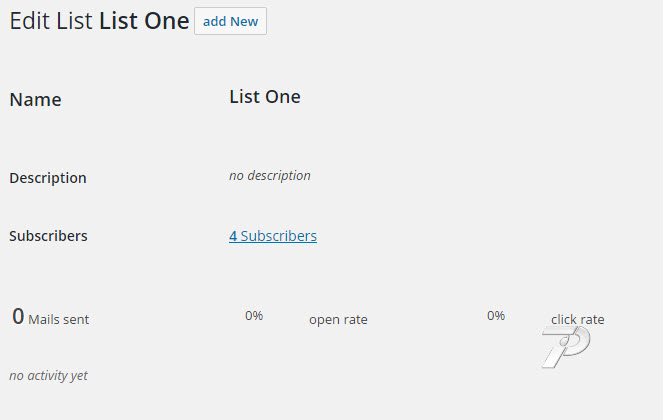
Now simply submit the form once with a non-existing email address. If everything is setup correctly, then you will see the email address being subscribed and added to the mentioned lists.


