MailChimp is a free and very powerful email marketing tool. To integrate MailChimp automatic subscription with eForm please follow the procedures below.
#1: Get MailChimp API Key:
Getting MailChimp API key is free and is available from your Account section. MailChimp knowledgebase has an tutorial which you can read here.
#2: Get MailChimp List ID:
Next what you would need is the ID of the list where you’d want your users to get subscribed. If you haven’t already then you can create a list and get started. Once you have a list you can get the List ID from the list’s settings page. To know more, please read this article.
#3: Activate and Fill in the MailChimp integration from form builder:
eForm Forms has individual settings for MailChimp integration. It means, for every form the integration settings are independent. While it gives you the flexibility to use different MailChimp accounts on different forms, it doesn’t mean you can not use the same API key and/or List ID across several forms. In order to activate the integration:
#3.1: Enable the settings:
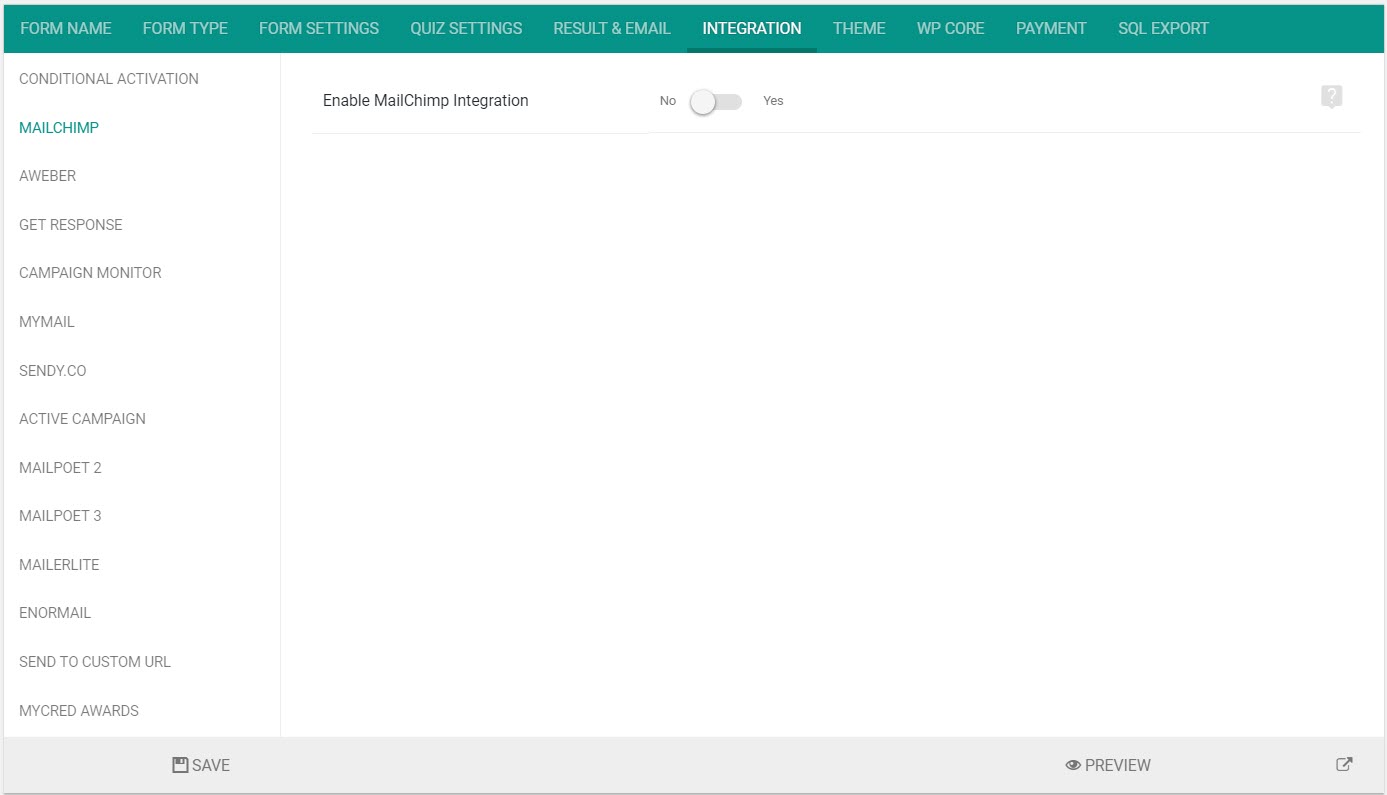
While in the form builder, go to Integration > MailChimp and click on Enable MailChimp Integration. It will bring up the configuration options.
#3.2: Configure integration:

On the same screen, you will see new elements being shown up. Enter the API Key and List ID as obtained from the methods above.
- Double Optin: This is enabled by default and it means, your subscribers will need to confirm a message sent to their email to successfully subscribe to the list. You can disable for a direct subscription, but as mentioned by MailChimp itself, abusing it can cause suspension of your account.
- Send Welcome Message: Optional if Double Optin is false and if this is true, mailchimp will send your lists Welcome Email if this subscribe succeeds. If Double Optin is true, this has no effect.
#4: Add necessary fields:
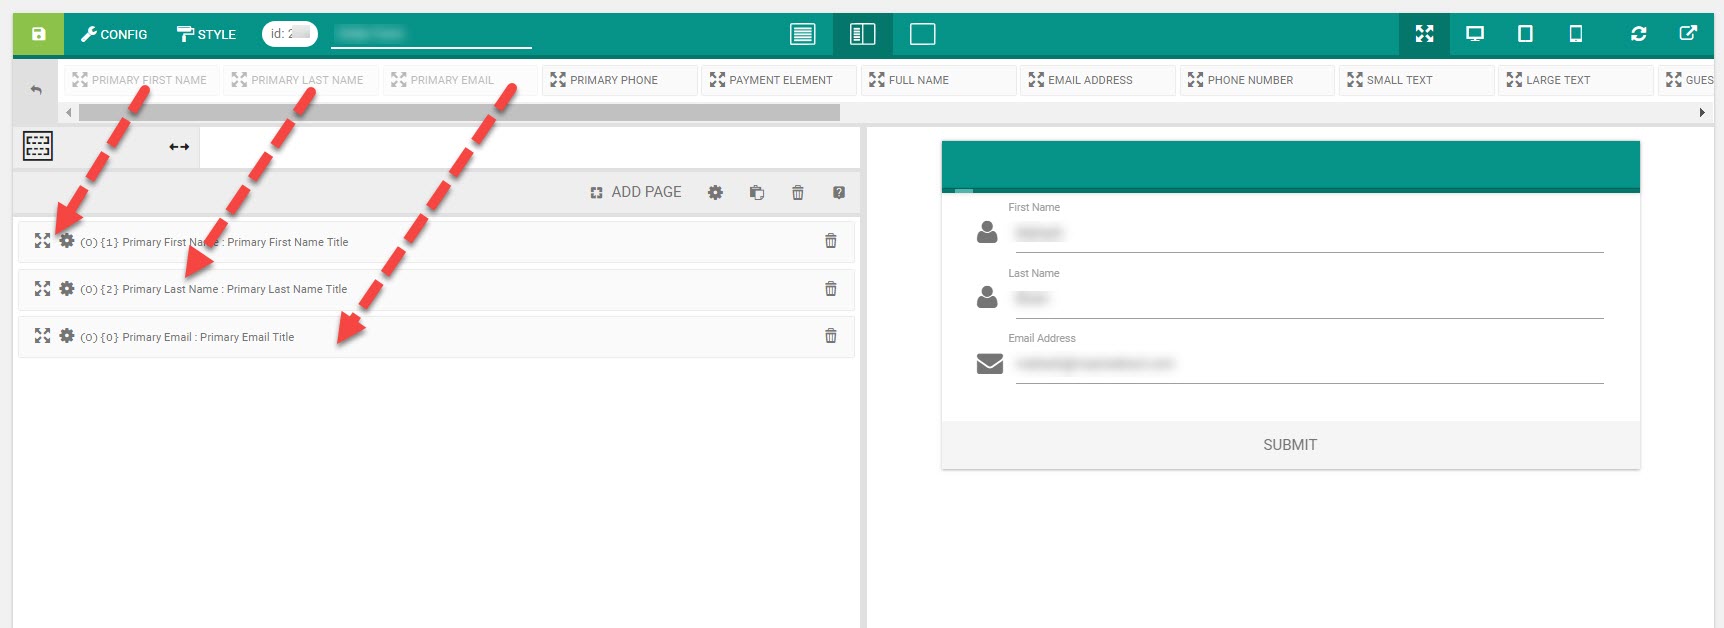
For any integration to work, make sure you have the Primary Email element added somewhere to the form. It is available from Other Form Elements (O). For subscription with full name, make sure you add the Primary First Name and Primary Last Name elements too.
#5: Send custom fields
First create your required custom fields under MailChimp signup form.
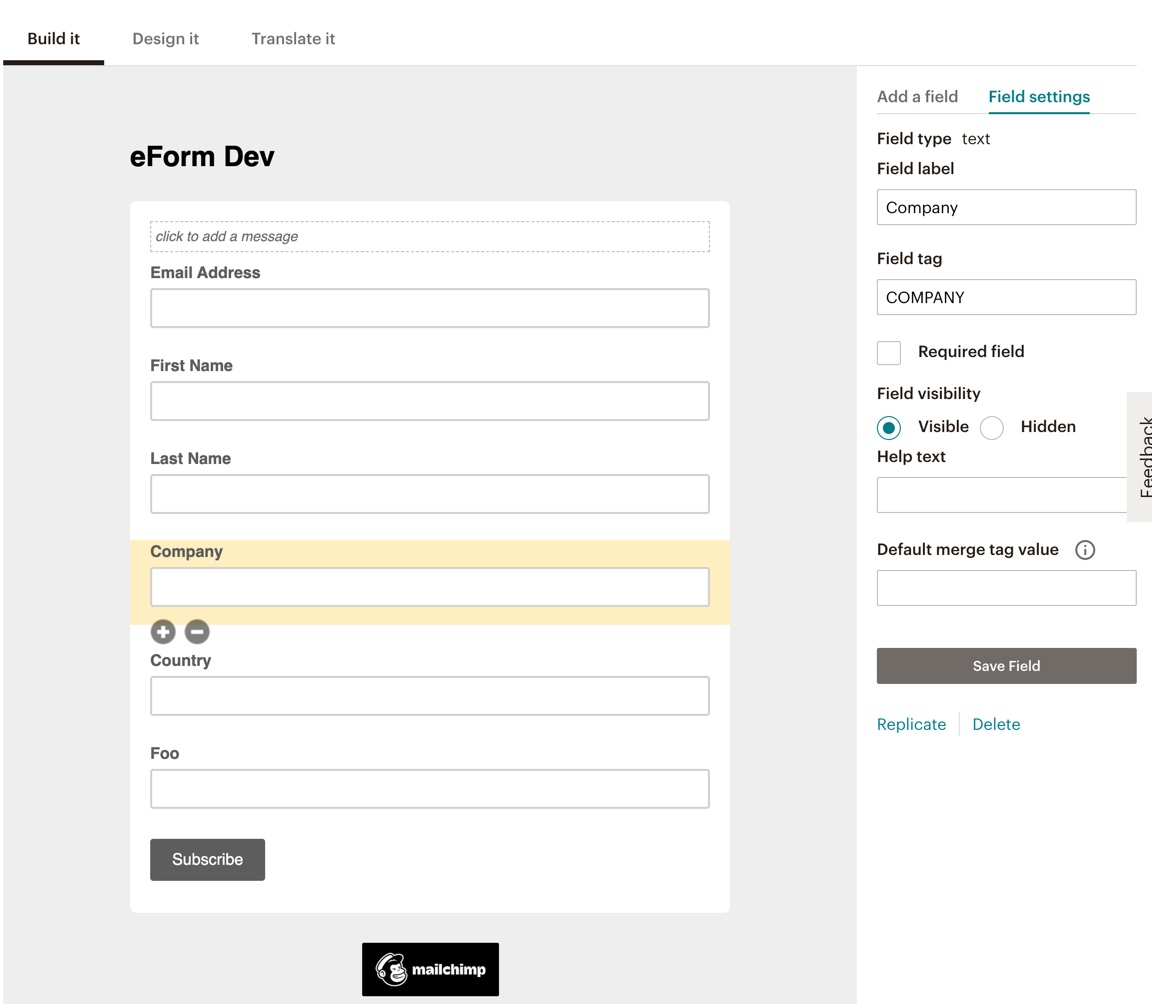
In the image above, we have created three custom fields and their tags are as follows.
- Company –
COMPANY. - Country –
COUNTRY. - Foo –
FOO.
Note down the Field Tags of the custom fields you create. We are going to need it in the next step.
Now go to eForm Builder > CONFIG > INTEGRATIONS > MAILCHIMP and first enable Send additional data as custom field.

Now map your form elements to one of the fields you’ve created in the previous step. Do note, you need to copy paste the Field Tags exactly as shown in the MailChimp interface (usually all uppercase).
#6: Test the settings:
Now save the form and fill it up and submit it. If you have set the right API key and right List ID, then it would successfully add your email to the list. Otherwise please recheck every configuration.
1 thoughts on “MailChimp Integration on eForm”