Campaign monitor is yet another Email Marketing Tool that is used by some real internet giants. eForm has built in capability to automatically subscribe your users to any Campaign Monitor List. To do so, please follow the procedure below.
#1: Get Campaign Monitor API Key and List ID:
- To get the API Key, read this article.
- To get the List ID, read this article.
#2: Set Integration Settings:
Go to the form builder > Integration and click on Enable Campaign Monitor Integration. Now set the necessary fields:
- Campaign Monitor API Key: The API key you have obtained from step 1.
- Campaign Monitor List ID: The List ID you have obtained from step 1.
#3: Add necessary fields:
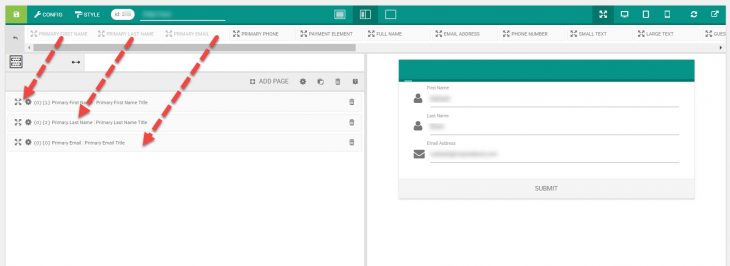
For any integration to work, make sure you have the Primary Email element added somewhere to the form. It is available from Other Form Elements (O). For subscription with full name, make sure you add the Primary First Name and Primary Last Name elements too.
#4: Send additional data with custom fields
It is possible to send along more data apart from the above fields. To do this, first go to your campaign monitor dashboard > Lists & subscribers > Your List > Custom Field. More information can be found here.

In the image above we’ve created three fields with the following personalization tags.
- company –
[company,fallback=] - country –
[city,fallback=] - foo –
[foo,fallback=]
Now back at eForm, go to CONFIG > INTEGRATION > CAMPAIGN MONITOR and first enable Send additional data as custom fields. Now map your eForm fields to the personalization tags.

In the Field Key, we simply put the personalization tag without the parenthesis and fallback= part. So [company,fallback=] becomes just company.
#5: Test out the settings:
Now save the form and fill out a sample form. If everything you have entered is okay, then your email should get subscribed to the list.


