From July 2018, Google now requires you to enable billing in your cloud account to access places API. Places API is required for eForm GPS Tracker element.
#1: Create new project under Google Cloud Console
Google Places API now live under newly formed Google Cloud Console. Visit this link to go to the console. You may use your existing google account to login.
Now just on the right hand side of Google Cloud Logo you will see a button to create a new project. Click on it.

note: since I already have many projects, the button shows currently selected one.
Give a name to your project and put it under some organization and location.
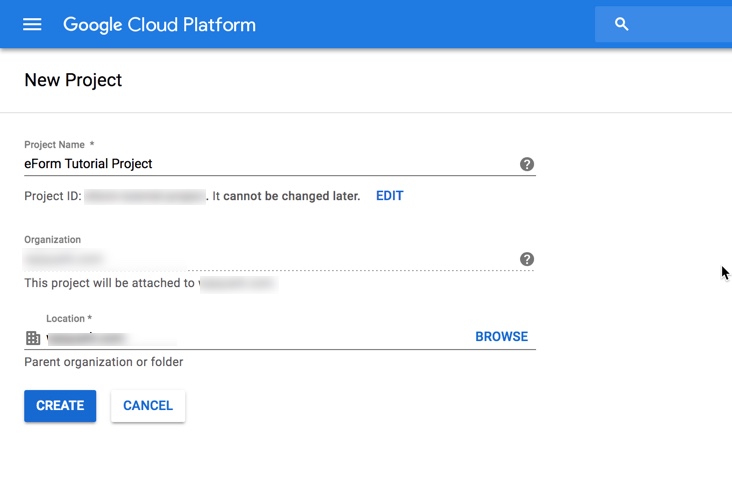
It will depend on your google account type. The tutorial is created using an organization account of our company.

It will take a while for the project to get created. Once created, click on APIs and Services > Library.
If you can not see the menu above, then click on the sidebar icon on top-left of the screen. Also make sure your newly created project is selected.
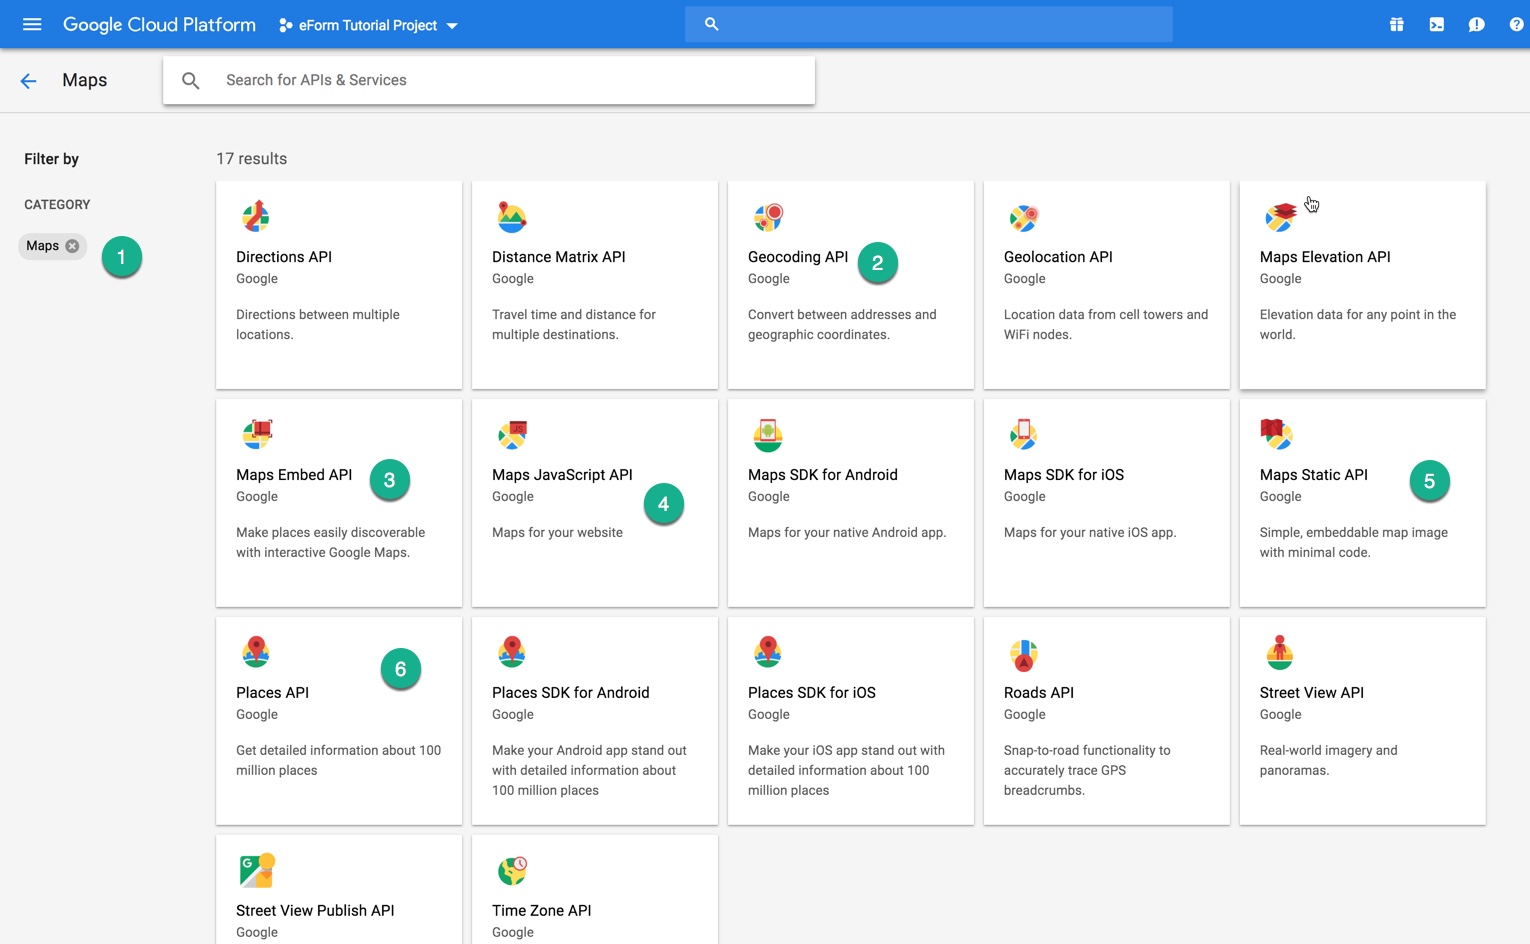
From this screen enable the following services.
- Geocoding API.
- Maps Embed API.
- Maps JavaScript API.
- Maps Static API.
- Places API for Web.
You need all of the above for eForm to work. All of them can be found under Maps category. You can also search and add. It will take some time to add them, so please be patient.
#2: Enable Billing for your project
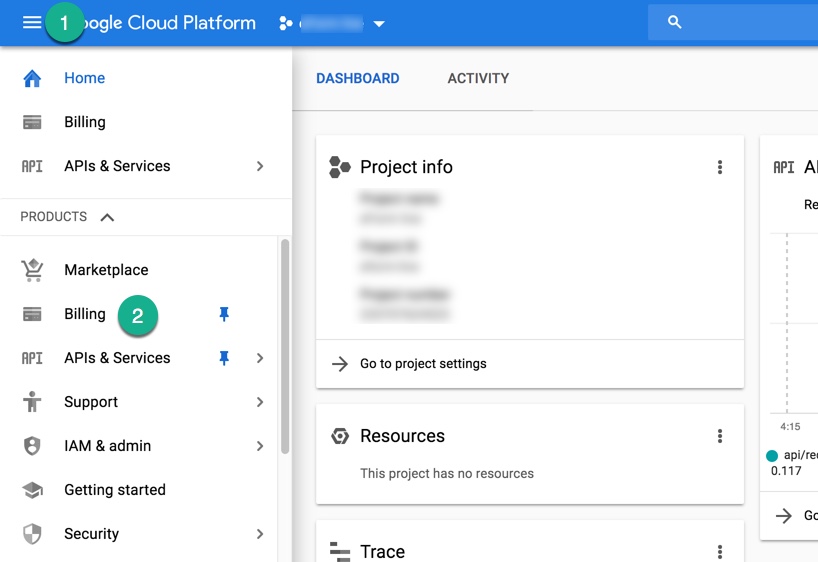
While your project is selected on the right hand side click on Billing.
Now depending on your country, use your Credit Card or Debit Card to enable billing account.
For some reason if you are not able to verify your card, kindly contact google support. In my case, I had to use my Credit card, since Indian Debit cards are not (yet?) supported.
#3: Get API Key for your project
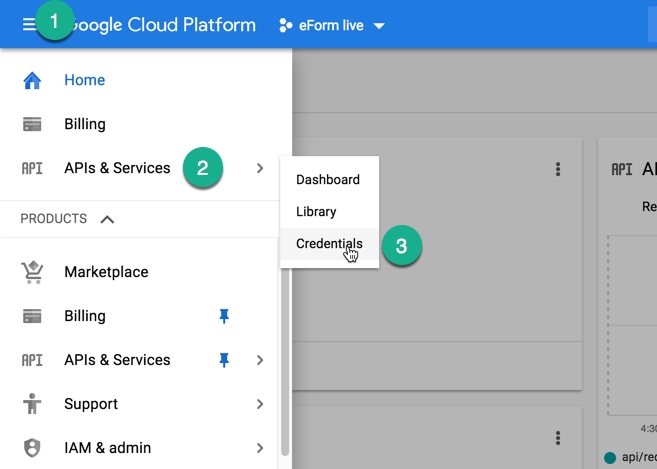
Now click on Main Sidebar > APIs & Services > Credentials.
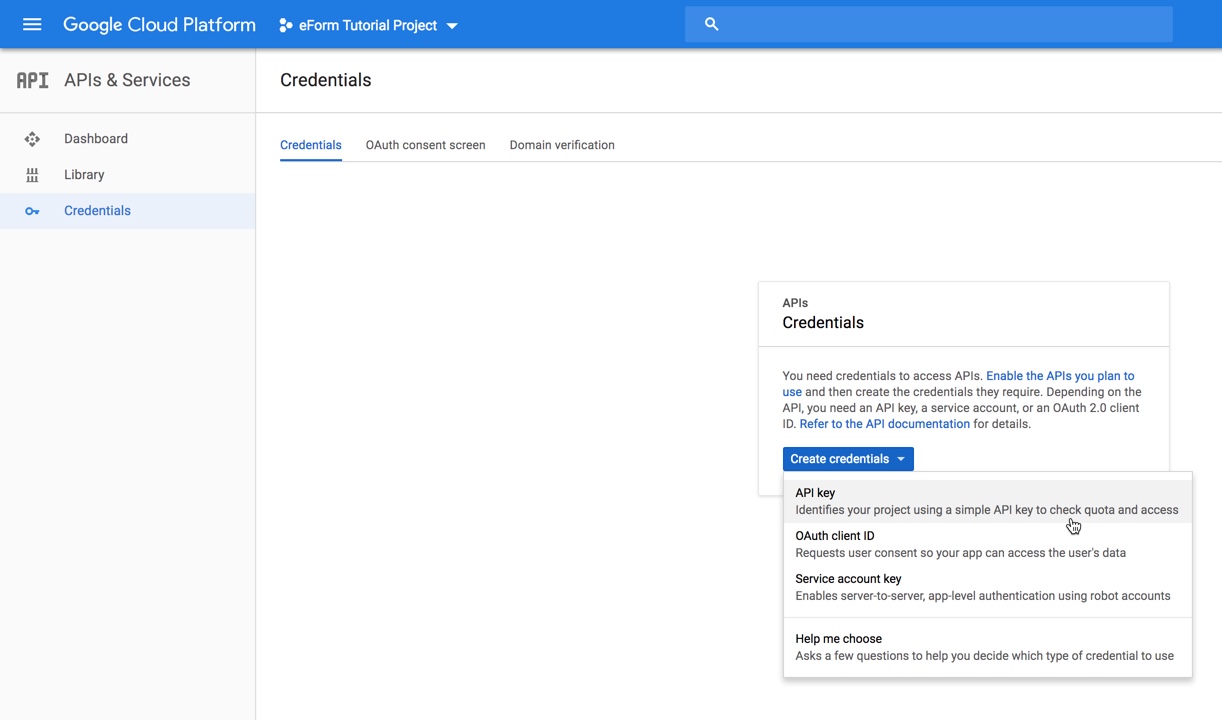
Create an API key (as shown above).
Once created, please restrict the key for your domain. Use HTTP referrers as Application restrictions and to be on the safer side, add the above 5 API services under API restrictions.
Now copy the API key.
#4: Setup the API key in eForm:
Now that the hard part is over, we just need to tell eForm to use our generated API key.
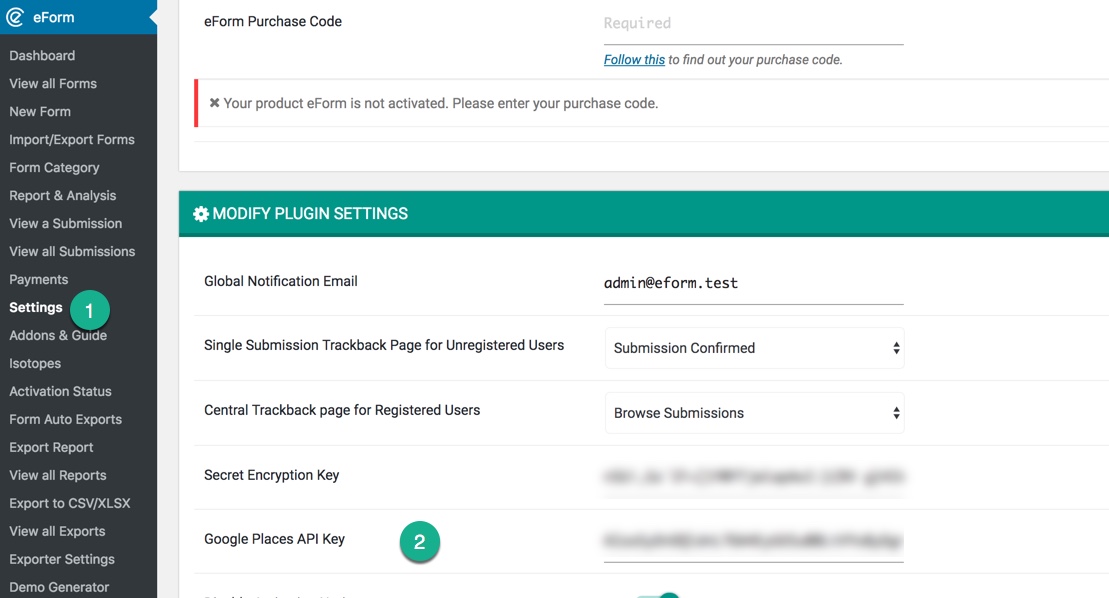
- Go to eForm > Settings.
- Paste the API key in the appropriate field.
- Save the settings.
Check any of your form with GPS Tracker in it. It will start working again.