eForm Version 4.0 brings in the option to have an Offline Payments System. This is ideal for collecting payments during delivery (Cash On Delivery or COD) or through Bank Transfer. To get started, please follow the tutorial.
#1: Activate Offline Payments
Setup a payment form as usual. Now do the following.
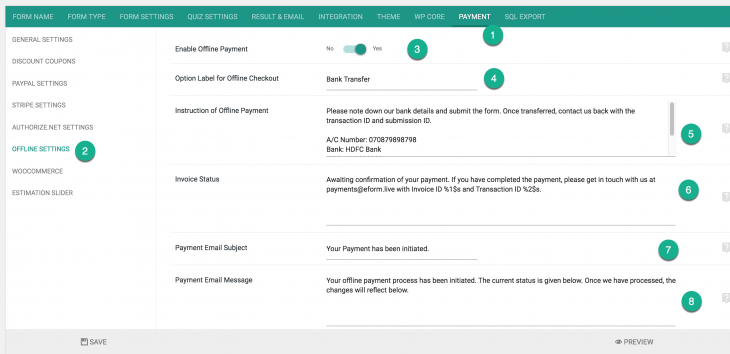
- Go to Payments > Offline System.
- Activate it by Clicking on the Enable toggle.
- Enter instructions and invoice status.
- Enter Payment Email message and subject.
Save the form and you are done. Do make sure that you have inserted a payment element somewhere in your form.
#2: Payment flow from user end
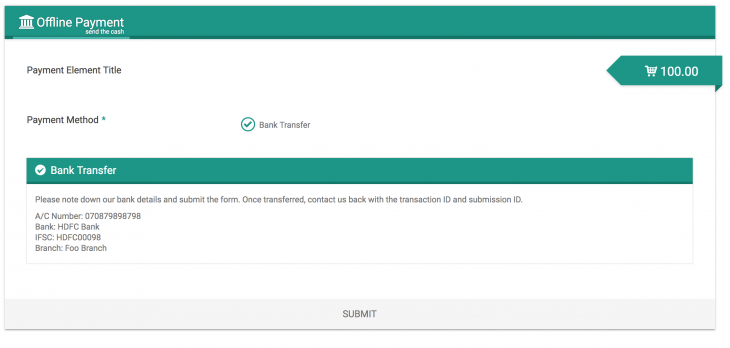
When user selects the offline payment gateway, the following will happen.
- The user will see the instruction you have entered in the settings.
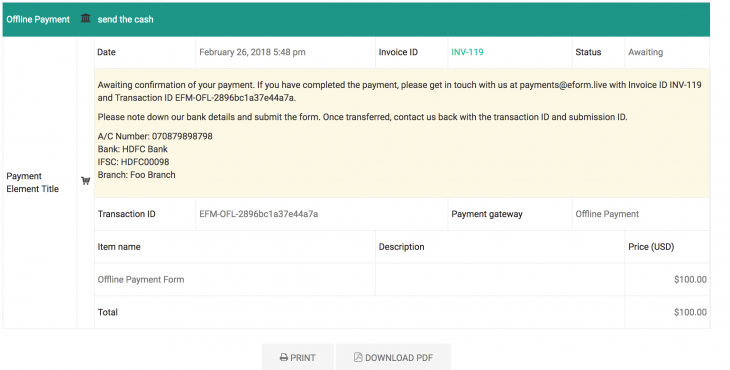
- Once submitted, the payment status will be set to “Awaiting” and in the invoice/summary table, the invoice status will be shown.
- It will obey the logic of not showing the submission (if enabled) until payment status is manually confirmed.
#3: Administrating Payment Status
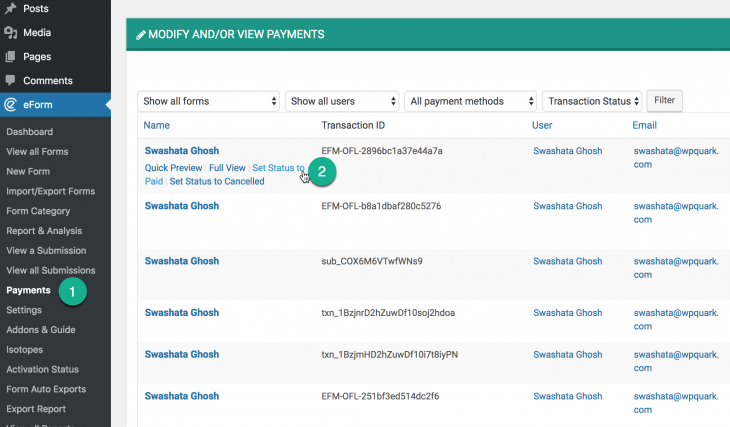
Now login to your WordPress Dashboard and navigate to eForm > Payments.
There you will see new actions under Offline payments. Clicking them will change the status.
- Set Status to Paid: Will set the status to paid. Will also send an updated payment email and if submission locking is enabled, then full copy of submission.
- Set Status to Cancelled: Will set the status to cancelled. Will also send an updated payment email.
This feature is available from eForm version 4.0. So if you don’t see it yet, kindly update.


