With eForm it is possible to track how your users are interacting with your forms through Google Analytics Event tracking. The setup is pretty simple, you just need to enter your UA property ID and the rest is done automatically.
Create a Google Analytics Profile
Skip this step if you have done this already. To make eForm work with Google Analytics, you will need a valid property ID. Please follow this guide on Google Support.
- Make sure to select Website in the property type.
- The website URL should be the domain of your website.
Once done, please note down the property ID. It starts with something like UA-XXXX-XX.
Setup eForm with Google Analytics Event Tracking
eForm can implement Google Analytics event tracking to track the clicks, selection, pagination, submission etc in your form. It is done through dimensions and event category. But first we need to enter the UA property ID in eForm.
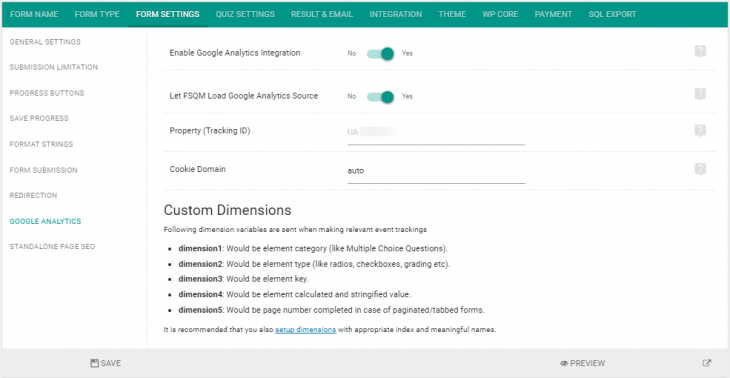
- Go to Form Settings > Google Analytics.
- Enable the settings Google Analytics Integration.
- Enable the settings Let eForm load Analytics Source. (If your website already has google analytics integrated, then keep it disabled)
- Now enter the property ID.
Setup custom dimensions
The basics form actions like submission, pagination, completion are tracked through events. But if you wish to further check which elements were filled, then you can setup custom dimensions.
Following dimension variables are sent when making relevant event trackings
- dimension1: Would be element category (like Multiple Choice Questions).
- dimension2: Would be element type (like radios, checkboxes, grading etc).
- dimension3: Would be element key.
- dimension4: Would be element calculated and stringified value.
- dimension5: Would be page number completed in case of paginated/tabbed forms.
To make the variables easily accessible, we need to setup our property with the dimension names. A detailed guide can be found here, but we will explain it too.
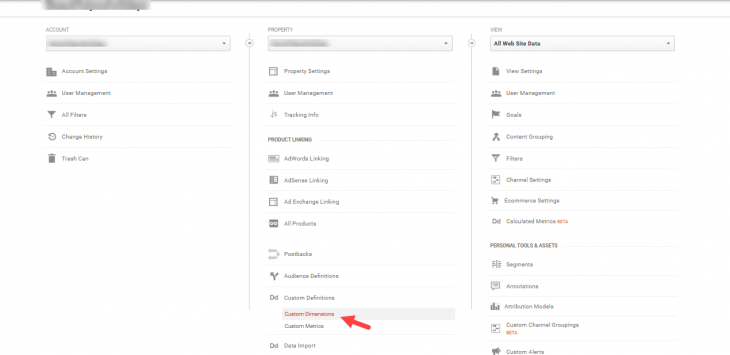
- Go to Google Analytics, select your property and click on ADMIN.
- Under custom definition, click on Custom Dimension.
- Now create dimensions under the same order as mentioned before. Give some meaningful name that you would understand later on.
Save your form and analytics setup and you are done.
Viewing Reports
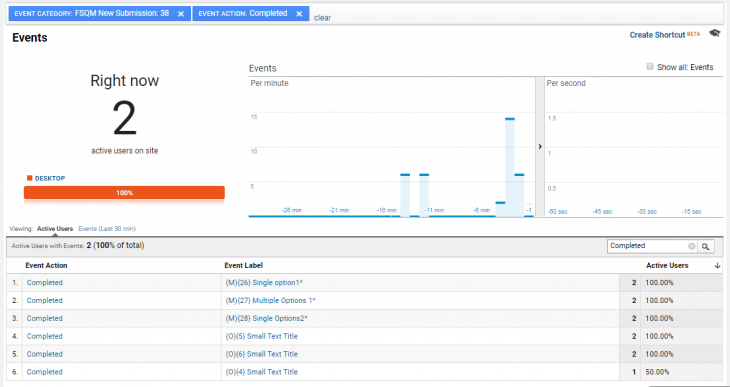
Under your Google Analytics, Behavior > Events, you can see the reports on events.
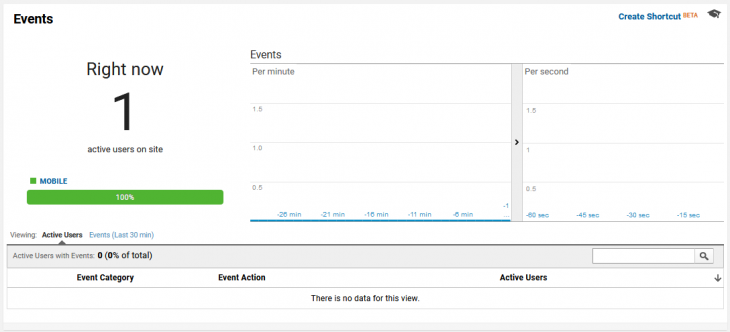
You can also see the events live from Real Time > Events.


