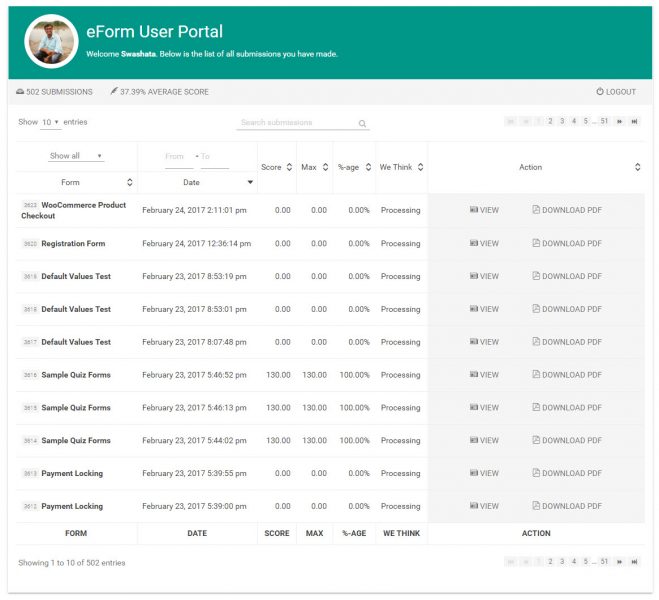
eForm gives a beautiful interface to users for accessing their previous submissions. To make use of it, you do need to setup the required pages. You can either do it manually or follow the wizard.
#1: Customizing the welcome message
Change the content of the shortcode. By default it is [ipt_fsqm_utrackback]Welcome %NAME%. Below is the list of all submissions you have made.[/ipt_fsqm_utrackback] where %NAME% will be changed by the name of the user. You can change it to anything you wish.
#2: Disabling score
Change the attribute showscore="1" to showscore="0".
#3: Showing column filters
The datatable can also show filter attributes on different columns. To enable this, set attribute filters="0" to filters="1".
#4: Changing the login form
The portal page would show a login form if user not logged in. To customize this, please modify the following attributes.
login="You need to login in order to view your submissions.": Changes login message.show_register="1": Enabling it shows the registration link.show_forgot="1": Shows a link for password reset link.
#5: Showing category
eForm Forms can be categorized. If you wish to show categories to users and give the ability to filter accordingly, set showcategory="1".
#6: Showing/Hiding Admin Remarks:
Starting v3.5, eForm can show admin remarks on the user portal shortcode. To show, simply set or add showremarks="1" to the shortcode. To change the label of the remarks column, modify remarkslabel="Admin Remarks".
