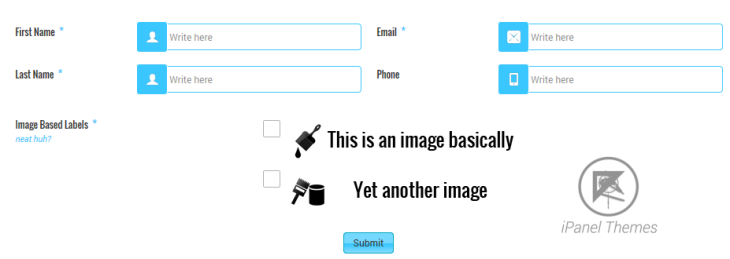
In one of the samples, we have shown images as labels. To achieve this kind of result, you’d need to know/learn a little of HTML. This tutorial will attempt to show you, how we can put together images inside checkbox/radio element’s labels.
Uploading the images
Before we start, we are going to need hosted images. The easiest way to do this is using WordPress Media.
- Go to WordPress Admin [icon type=”glyphicon-arrow-right”] Media [icon type=”glyphicon-arrow-right”] Add New.
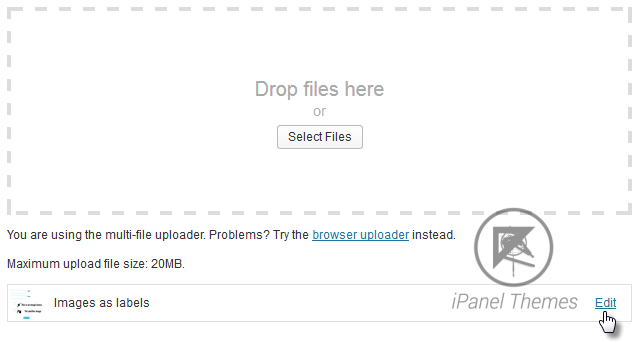
- Now simply drag and drop an image file like you’d do while creating posts.
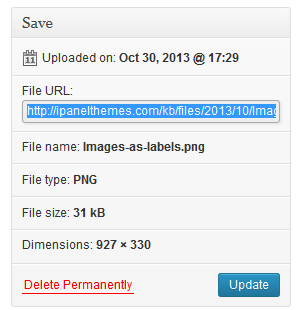
- Once the file is uploaded click on the “Edit” button (please see the screenshot) and note down the file URL.
For the image shown above, the URL is http://wpquark.com/kb/files/2013/10/Media-File-URL.png. Keep it handy.
Working with Form Elements
All of the fields of the form elements are HTML enabled. So this method will work anywhere. For the sake of simplicity, we are going to show this only for Radiobox and Checkbox elements (MCQ [icon type=”glyphicon-arrow-right”] Single Option, MCQ [icon type=”glyphicon-arrow-right”] Multiple Option).
- Drag one of the form elements on a container.
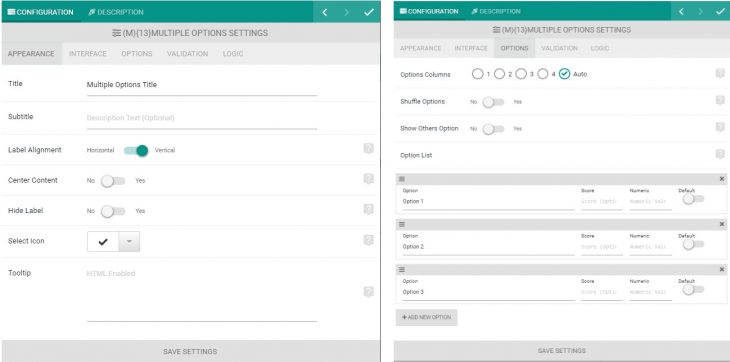
- Click on the settings icon of the new element.
- Now start creating options (by clicking on the Add New Option button) and inside the Enter Option Label, enter HTML like this:
[html]<img src="http://wpquark.com/fsqm/files/2013/10/title-2.png" alt="Label 2" />[/html]
- Obviously you’d need to change the src attribute value to the URL of the image you want to embed. For the URL above, the code would be:
[html]<img src="http://wpquark.com/fsqm/files/2013/10/title-2.png" alt="Label 2" />[/html]
Now save the form and preview it. You should see the image showing up in place of the label (beside the checkbox or radio element).


Excelent option!! Gives a lot of color and movement to forms.